How to create stunning collages and photo albums with collage frame templates + freebie for you!
In today's digital age, preserving memories through photographs has become easier than ever. From capturing milestones to documenting everyday moments, photographs hold a special place in our hearts.

And what better way to showcase these cherished memories than through stunning collages and photo album pages?
With the availability of modern templates, you can now effortlessly showcase your memories in a visually captivating way. These templates offer a versatile solution for creating stunning pieces for different occasions.
Creating Stunning Collages: Tips and tricks for using the templates to create visually appealing collages and photo album pages.
Whether you are a scrapbooking enthusiast or crafter using digital software or cutting machines such as Cricut or Silhouette machine, templates are a real game-changer. With templates, you have all the creative tools you need at your fingertips, and you can save a ton of time!
Step 1: First and foremost, take some time to select the right photos for your collage.
Choose images that complement each other in terms of color, theme, or mood. Consider the story you want to tell with your collage and select photos that help convey that narrative. After this step, you are ready to start.
Step 2: To begin creating your visually appealing collages and photo album pages, start by selecting the perfect template that matches the theme or style you desire.
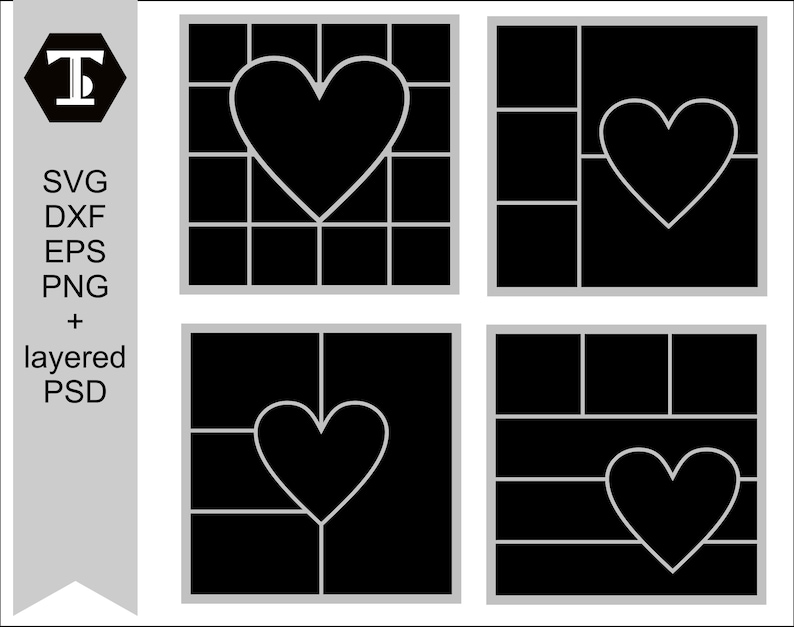
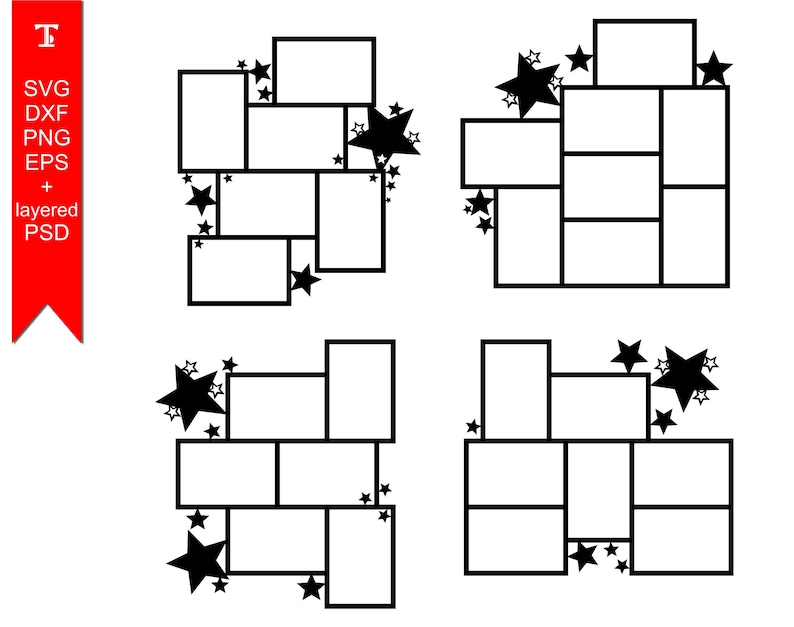
Most often, templates for an odd number of photos are used. I prefer to work with 3 to 5 images, but multi-photo grid templates also look interesting.

Collage templates offer multiple spaces for photos, allowing you to create visually appealing layouts. Don't be afraid to play around with the placement of your pictures until you find the perfect arrangement that showcases each photo in the best possible way.
Step 4: Don't hesitate to challenge the conventions.
On occasions, you may not find the need to fully utilize the designated area intended for photographs. Instead, leaving them empty allows for them to be embellished with supplementary components. Alternatively, you can allocate space for personal notes, journal entries, or specific information related to the depicted image.
Step 5: Don't let yourself be limited. I often use more photos than my templates are made for.
You can add some extra photos and simply place them behind the whole template. Of course, they won't have a frame like the main photos, but that can sometimes be the intention for the final design. So, experiment with different overlays and embellishments to create a unique and personalized collage that reflects your style and vision.
 Exploring the file formats: SVG, DXF, EPS, layered PSD, and PNG - What they are and how they enhance creativity.

In the world of digital design and crafting, file formats play a crucial role. They determine how you can use different templates and having a variety of file formats at your disposal can greatly enhance your creativity as well.
Let's explore these file formats I usually incorporate into my design bundles and understand how they can elevate your creative endeavors.
Firstly, SVG (Scalable Vector Graphics) is a popular file format that allows for high-quality, scalable designs. It is the go-to format for cutting machines like Cricut and Silhouette, ensuring precise and clean cuts.
With SVG files, you can easily resize, edit, and customize your collage templates without compromising on the clarity of the design. There are anchor points in these designs that can be used for simple design adjustments. You can remove or add some specific details, turn a straight line into a curve, split the design, or cut off a part of it. You can have great fun creating endless variations of the original design
DXF (Drawing Exchange Format) is another widely used format for design files. It is compatible with various CAD (Computer-Aided Design) programs and can be easily imported into software like AutoCAD. These files can be used in the Silhouette Studio software that uses the Silhouette cameo cutting machine.

DXF files are perfect for those who want to incorporate intricate details or make precise modifications to their collage templates.
EPS (Encapsulated PostScript) files are versatile and widely supported across various design platforms. They maintain high-quality resolution and are ideal for professional printing. EPS files can be easily manipulated and edited in graphic design software, giving you the freedom to unleash your creativity.
The layered PSD (Photoshop Document) format is a favorite among graphic designers. It allows for complete control over each element of the design, enabling you to adjust layers, colors, and effects effortlessly. With layered PSD files, you can experiment with different styles and embellishments, creating truly unique and personalized collages.
These files allow you to work with multiple layers of images, text, and graphics, giving you complete control over the design and layout of your collage. With layered PSD files, you can easily move, resize, and edit each element of your collage without affecting the rest of the design.
Layered PSD files also make it easier to make changes or updates to your digital collage in the future. If you decide to add or remove elements or change the layout, you can do so quickly and easily with the help of layers. This means you can continuously evolve and improve your collage over time.
Lastly, the PNG (Portable Network Graphics) format provides a transparent background, making it perfect for overlaying images onto different backgrounds. It retains the details and quality of the original design while allowing for seamless integration into your photo album pages or other creative projects.
Step-by-step guide: How to use the templates with Cricut or Silhouette machines.
In this step-by-step guide, I'll walk you through the process of using these templates with popular cutting machines like Cricut or Silhouette.

1. Choose your template and file format: Start by selecting the desired template from the variety available in my Etsy shop. These templates come in multiple file formats, including SVG, DXF, EPS, layered PSD, and PNG, ensuring compatibility with different design software and cutting machines.
2. Download and unzip the files: After purchasing the templates, download the files to your computer and unzip them. To be able to unzip files, you may need additional software (you can find free ones online to download if necessary). This will allow you to access the individual design templates from a bundle.
3. Open your design software: Launch your preferred design software, such as Cricut Design Space or Silhouette Studio, and create a new project.
4. Import the template file: Locate the template file you downloaded and import it into your design software. Depending on the file format, you may need to use the appropriate import function or simply drag and drop the file into the software's workspace.
Now it is time to decide if you want to create your collage digitally and print and cut it. Or you want only cut out the frame template and create your final collage after. Choose the following steps accordingly:
5. Customize and arrange your photos: Now it's time to personalize your collage. Adjust the size and position of the template to fit your project and start adding your favorite photos to the designated photo frames. Experiment with different arrangements until you achieve the desired look.
6. Add extra elements or text (optional): If you want to further enhance your collage, feel free to add additional elements such as stickers, borders, or text. This customization step allows you to truly make the design your own and add a personal touch to your creations.
7. Prepare for cutting: Once you're satisfied with your design, it's time to prepare it for cutting. Follow the specific instructions provided by your cutting machine's manufacturer to ensure proper settings and alignment. Make sure to select the appropriate material settings for the type of paper or cardstock you plan to use.
8. Load your material and start cutting: Place your chosen material onto the cutting mat and load it into your Cricut or Silhouette machine. Double-check that all settings are correct, and then initiate the cutting process. Sit back and watch as your machine precisely cuts out the intricate details of your collage template.

9. Remove excess material and assemble your collage: After the cutting is complete, carefully remove the excess material from the cutting mat. Now, you have all the individual pieces ready to assemble your collage. Follow the template's design and use adhesive to securely attach each photo frame and element according to your arrangement.
10. Showcase your masterpiece: Once your collage is assembled, you can proudly display it in a photo frame or incorporate it into your scrapbook or photo album. Share your creation with family and friends, knowing that you've used your creativity and the convenience of these templates to make something truly special.
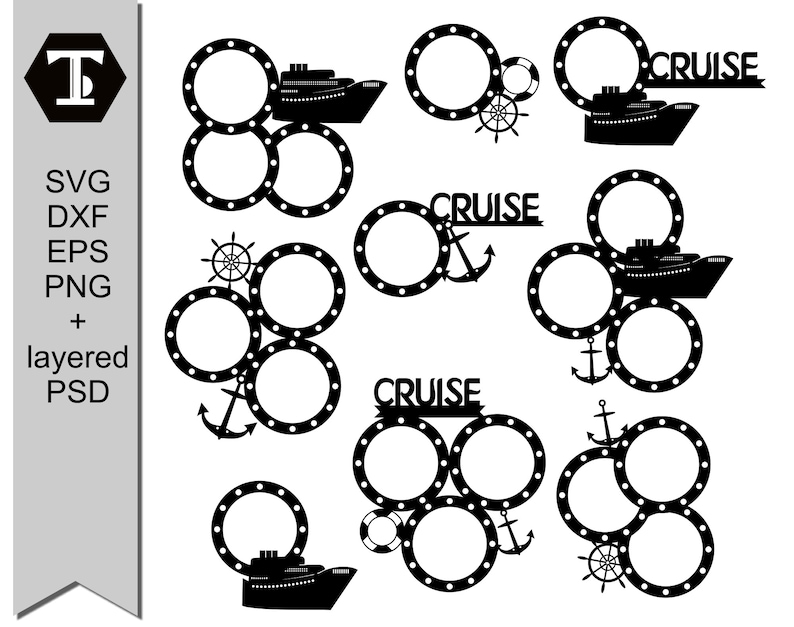
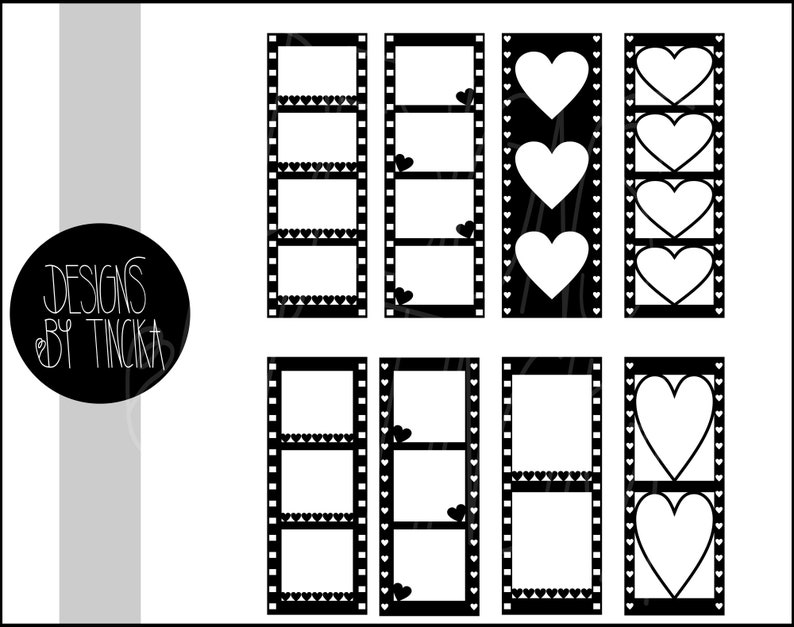
Design inspiration: Showcase of beautiful collage templates + links to used bundles from my designs.


Comments
Post a Comment